The NextDNS service protects against access to unwanted content, blocks malware, and ensures privacy at the DNS level. It automatically filters traffic and encrypts DNS requests. A special feature is the parental control function, which allows you to control children's access to certain resources on the internet. The so-called 'child filter' is supported, with safe searching and filtering of adult content (websites for adults, with violence, piracy, etc.). The service allows you to create so-called 'Denylists' and 'Allowlists' of domain names. You can directly blacklist specific sites and games or, conversely, unblock individual addresses.
Enable NextDNS content filter on the router in your home network, and it will automatically filter content on all computers and mobile devices at once. It is also possible to set up filtering separately for each local network host.
Enabling NextDNS in the router
To use the content filter, you must install the 'NextDNS' system component in the router. You can do this on the 'General system settings' page in the 'KeeneticOS update and component options' section by clicking on 'Component options'.

The NextDNS service setting will then be available in the router's web interface on the 'Internet safety' page.
On the 'Content filters' tab, select 'NextDNS' in the 'Filter mode' field.
To use the internet filter, you need to create an account on the NextDNS site.
If you already have an account, click 'Log in' under 'NextDNS Account' and log in.
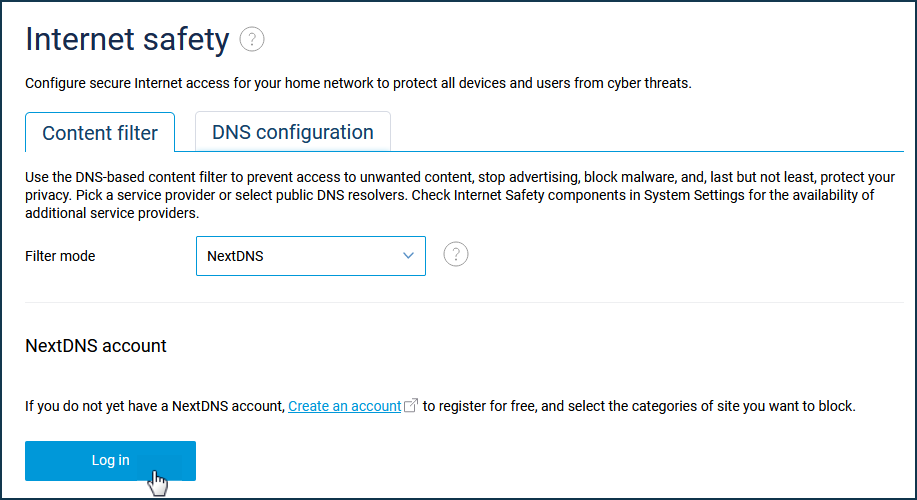
Setting up a profile in the NextDNS configuration panel
To use the internet filter, you must first create an account on the NextDNS website.
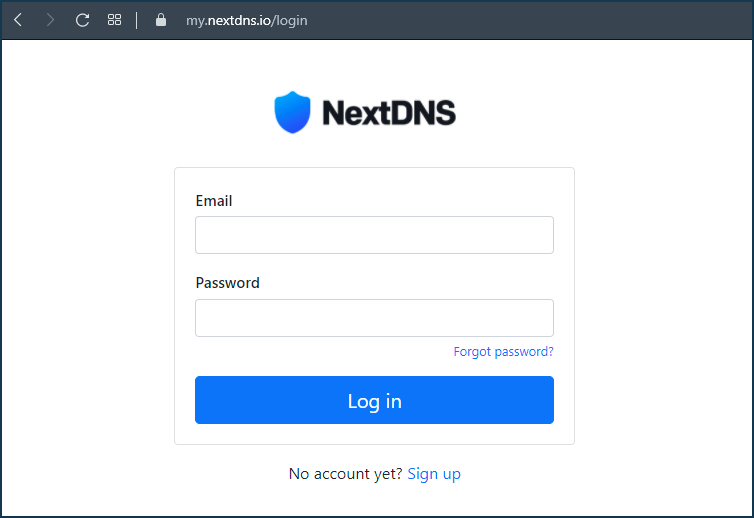
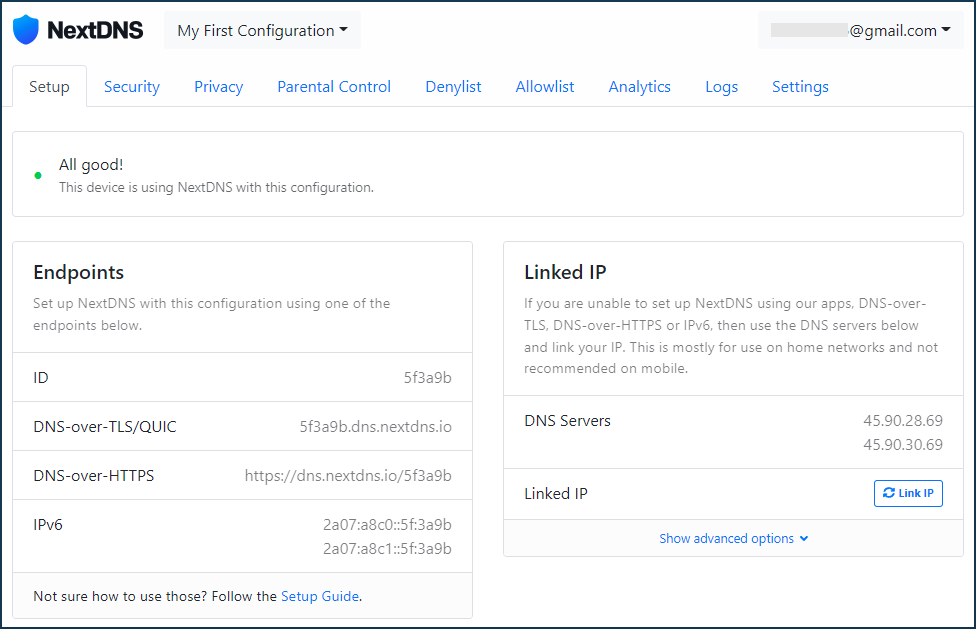
Once an account has been created, a 'My First Configuration' profile will be automatically created in the configuration panel (personal account of NextDNS).
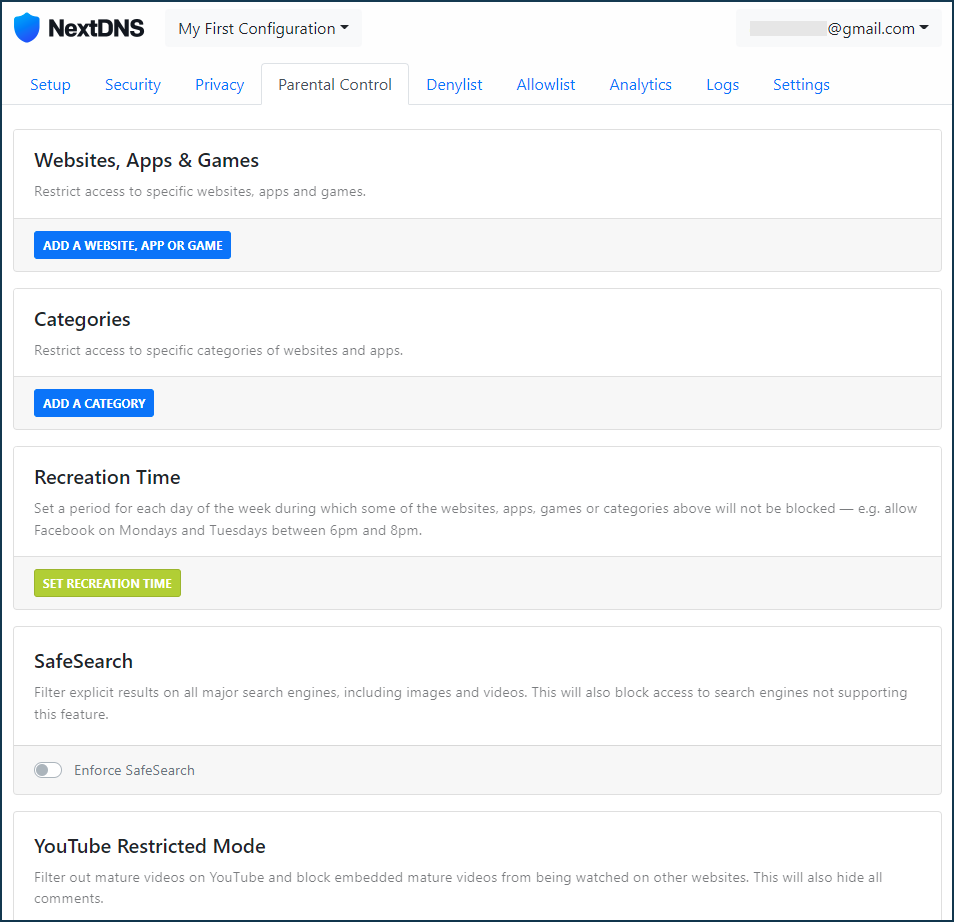
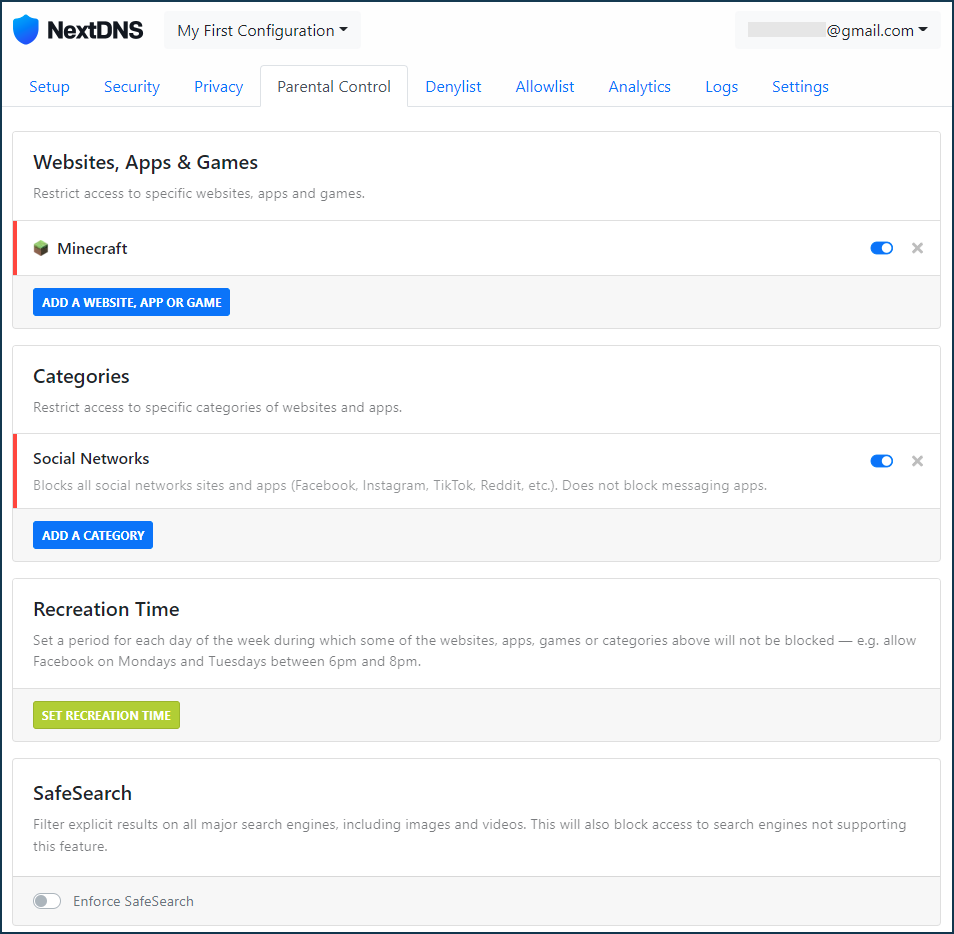
In the Parental Controls tab under 'Websites, Apps & Games' you can deny access to specific websites, apps and games in the suggested list, or under 'Categories' you can deny access to an entire category of content.
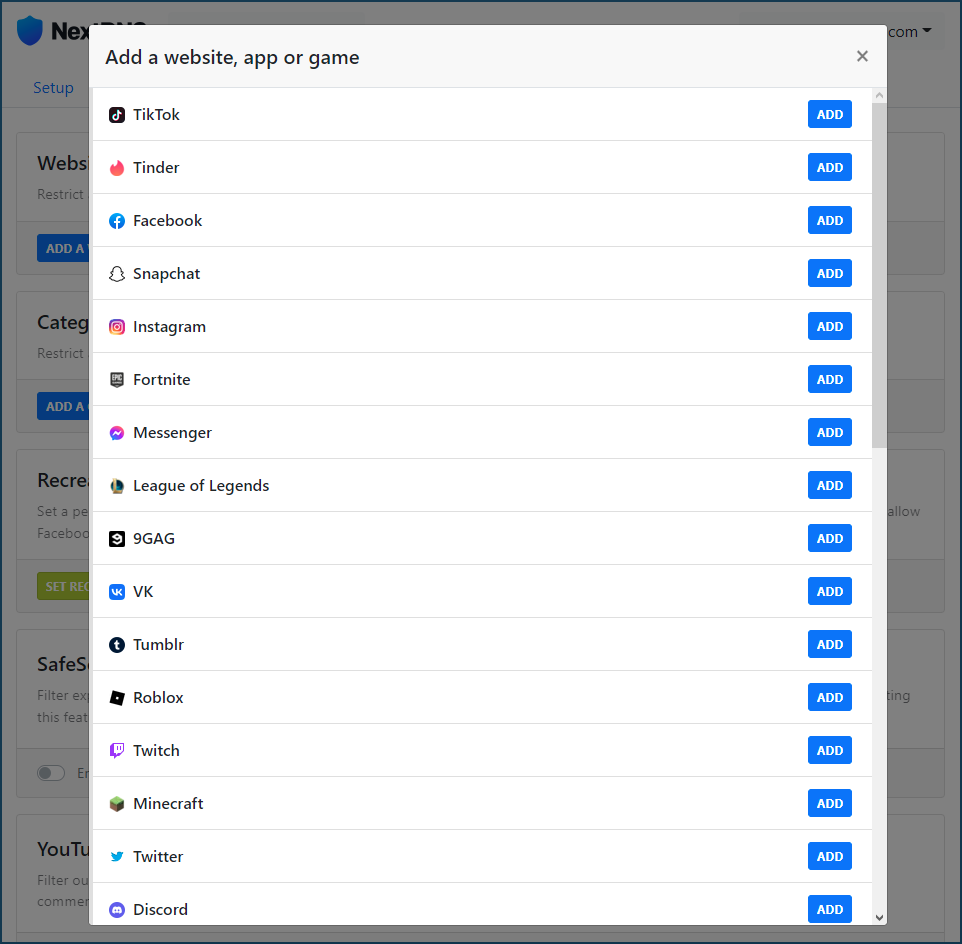
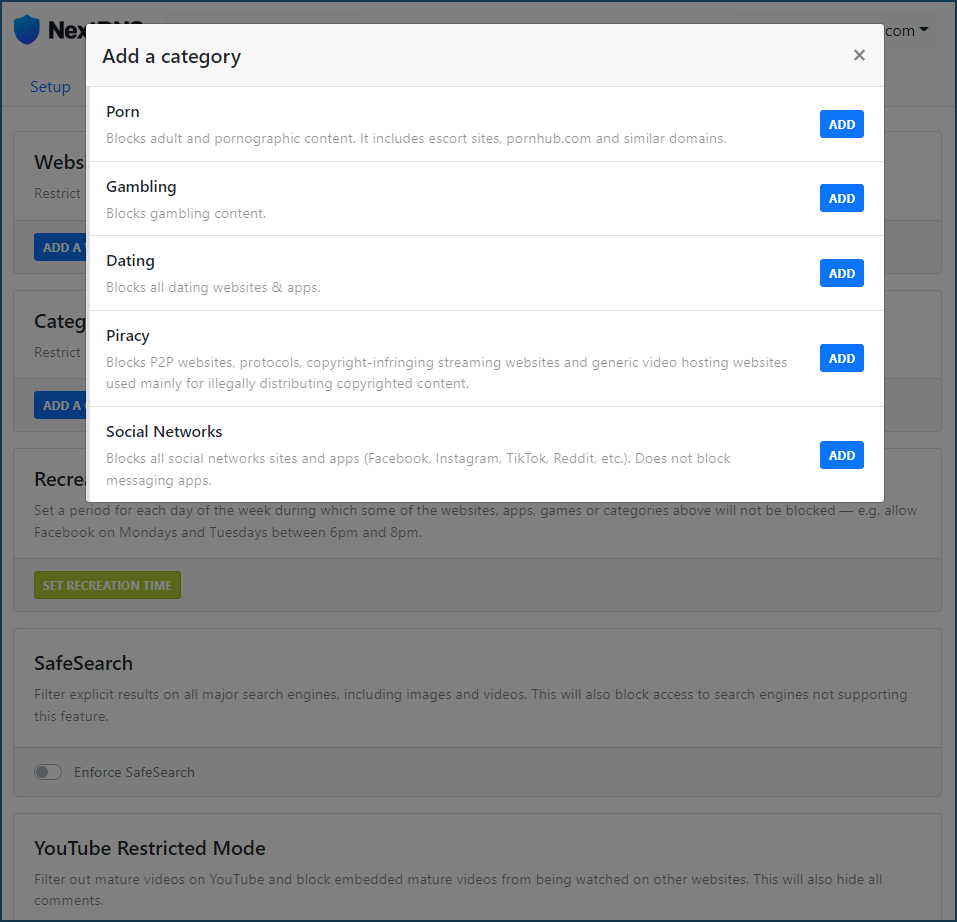
In our example, the Minecraft website and app and the 'Social Networks' category are enabled:
In the Denylist tab, you can create a blocklist by adding individual domains to it. In our example, we added a ban on the TikTok website:
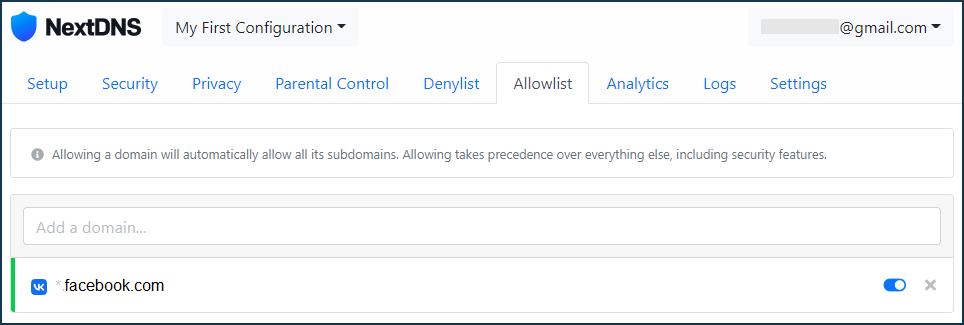
In the Allowlist tab, you can use the list of domains to exclude some sites that fall by default into some previously blocked categories. In our example, the category 'Social Networks' was previously disabled, and access to the Facebook website falls into this category, but by using the Allowlist, you can add a domain and access to it will be allowed:
After making the necessary settings in the NextDNS configuration panel in the 'My First Configuration' profile, go to the router settings.
Assigning a NextDNS profile to the local network devices in the router
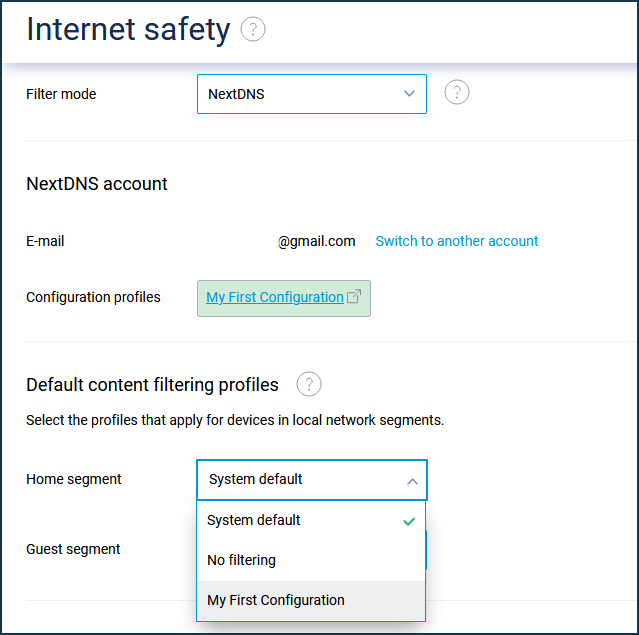
On the 'Internet safety' page under the 'Content filters' tab, you can assign the configured NextDNS profile either to a specific LAN segment or to individual registered devices.
Under 'Default content filtering profiles', specify the pre-configured profile for the desired network segment. In our example, 'My First Configuration' is selected for the Home network segment:
Under 'Assignment of content filtering profiles to registered devices', each registered device can be given an individual profile. For example:
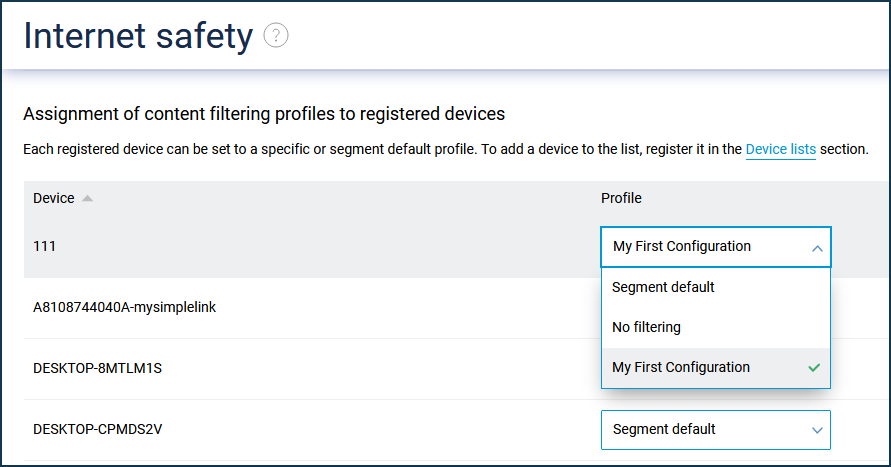
If you want to disable (or not use) the internet filter for a particular LAN device, set its profile to 'No filtering'.
NOTE: Important! When NextDNS is enabled, DNS over HTTPS protocol support is automatically used to protect DNS requests from interception and provide additional privacy. You can check this through the command-line interface (CLI) of your router by running the show nextdns availability and nextdns check-availability commands:
(config)> show nextdns availability
available: yes
port: 53
doh-supported: yes
doh-available: yes
(config)> nextdns check-availability
NextDns::Client: NextDNS DNS-over-HTTPS is available.
For more information, see DNS-over-TLS and DNS-over-HTTPS proxy servers for DNS requests encryption.