You can set up a Keenetic device by yourself using its built-in web interface or the convenient Initial Setup Wizard, allowing you to set up an Internet connection without having to go through the detailed instructions and technical nuances beforehand. Once the configuration is complete, it will verify that the connection is working properly.
NOTE: Important! Before connecting and configuring the router, you should confirm the following information (available from the technical support of your Internet Service Provider or from your contract):
- Whether a login (username) and password are used to access the Internet;
- If username and password are used, which access protocol is used - PPTP, L2TP or PPPoE;
- If connecting via PPTP and L2TP, you need to know the IP address or domain name of the VPN server;
- What IP address your ISP gives you for the Internet - a static public IP address or a private IP address;
- If you use a static public IP address, you need to know this address and other IP settings (subnet mask, default gateway and DNS addresses of your ISP);
- Whether your ISP registers the MAC address of the device from which you will be accessing the Internet; what MAC address is registered with the ISP; if the contract with your ISP specifies the MAC address of another device, such as your computer, we recommend informing the ISP of the WAN MAC address printed on its label before connecting, or changing the MAC address of the router during the initial setup.
Connect the Internet cable from your ISP to your Keenetic's port '0'.
If you use a 4G/3G USB modem from your service provider to access the Internet, connect it to Keenetic's USB port. When setting up Internet access using ADSL2+/VDSL2 technology, connect the telephone line through the splitter to the router.
NOTE: Important! This article describes the actions needed to connect a router on factory default settings to the Internet for the first time. If you are unsure if your Keenetic has not been configured before, use the Reset button to reset the Keenetic to the factory default settings.
On a computer connected to the Keenetic, start the web browser. You should see the welcome page of Keenetic's web interface.

If you see another page on your screen, enter the router address in your web browser: my.keenetic.net

or 192.168.1.1

Click the 'Run Wizard' button on the web interface's welcome page. The router's Initial Setup Wizard will start. In the next step, you need to specify your Internet connection method.
We will show you an example of setting up Internet access using a direct Ethernet connection, where the Internet cable from your ISP is connected directly to port 0 on the router. This connection without authentication is also called IPoE.
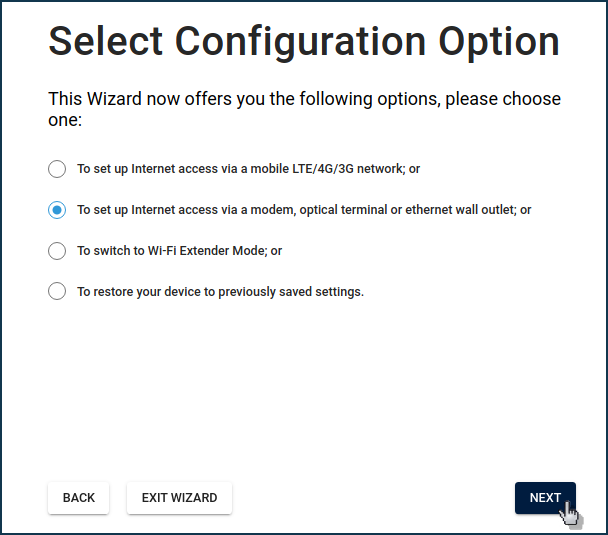
When you set up your router for the first time, you must accept the License Agreement. Read it and click 'Accept' to continue.

Set the router administrator password and click 'Next'.
In Keenetic routers, it is obligatory to set the password for the administrator (admin) account. This is necessary for protection against unauthorized access to the device settings.
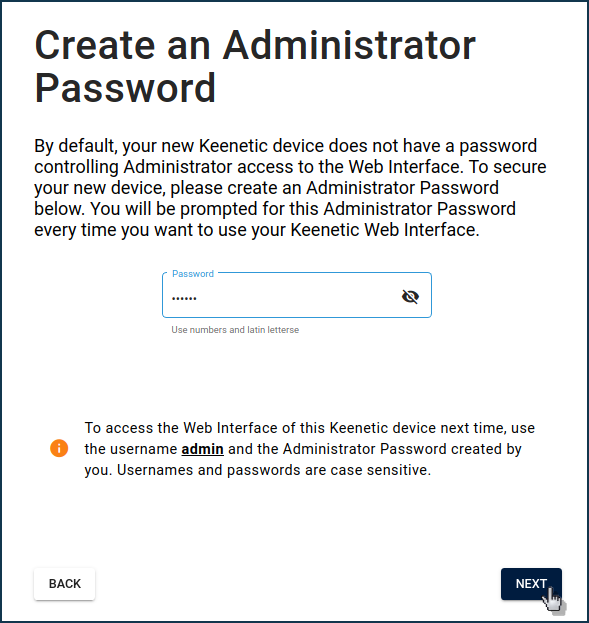
TIP: Tip: Set a strong router administrator password at least 8 characters long, including letters and numbers. A strong password is a password that is difficult to guess and takes a long time to pick by brute force. You can check the password strength here.
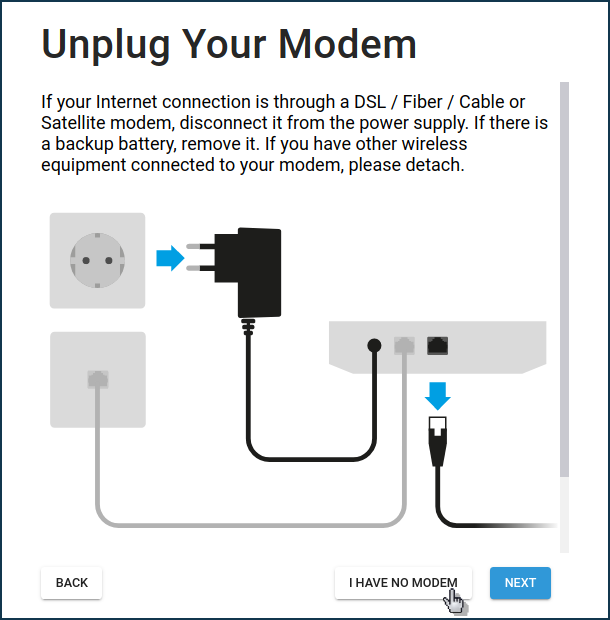
In our example, the Keenetic router is connected to the Internet via a network cable from your ISP and will operate in the main 'Router' mode. Click 'I have no modem' to continue with the setup.
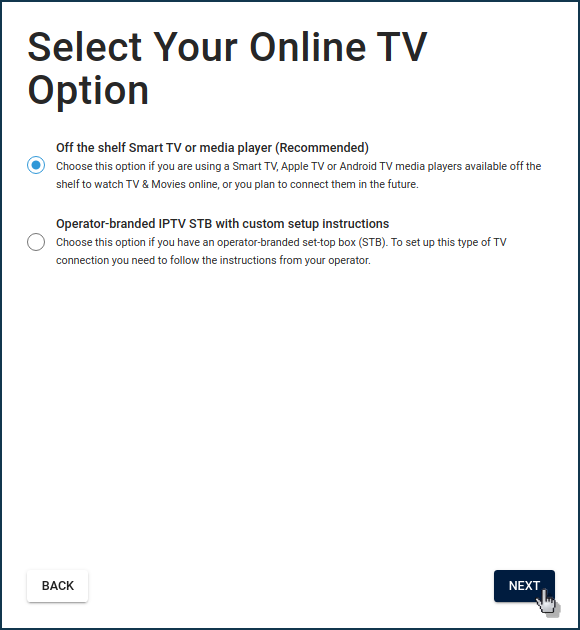
On the next screen, select a TV viewing option. If you plan to use a TV or Smart TV media player, choose the first (recommended) option. If your ISP has provided you with an IPTV set-top box and you need to dedicate a specific port on your router to it, select the second option.
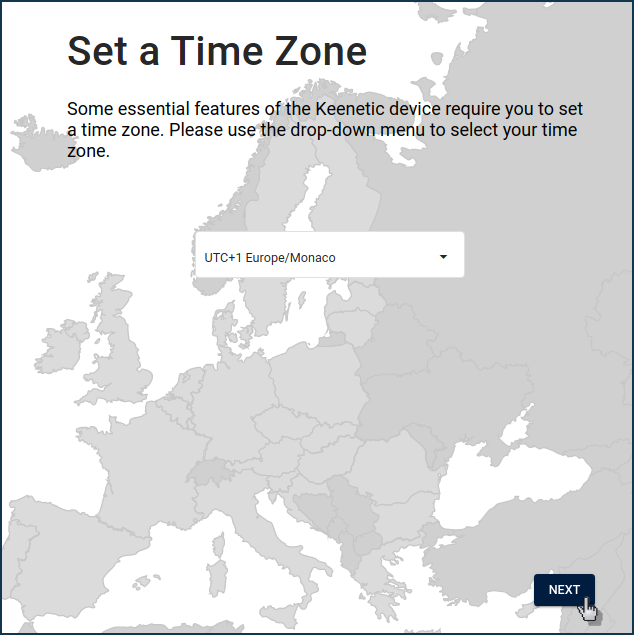
Set the time zone. Keenetic's basic functions (such as scheduling) require you to set the correct time zone.
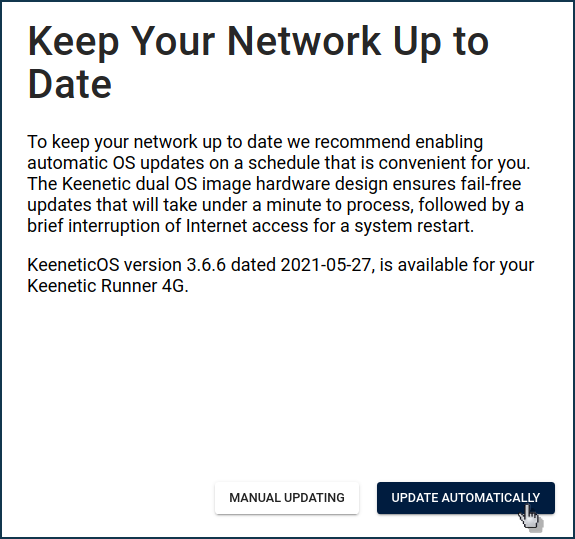
If the settings are correct, the router will connect to the Internet and check if the Keenetic operating system is up to date. If the router detects an update, it will update the KeeneticOS operating system automatically.
We recommend that you set your router to update automatically on a schedule that is convenient for you.
For more information on how to use and configure the KeeneticOS auto-update feature, see KeeneticOS automatic updates article.
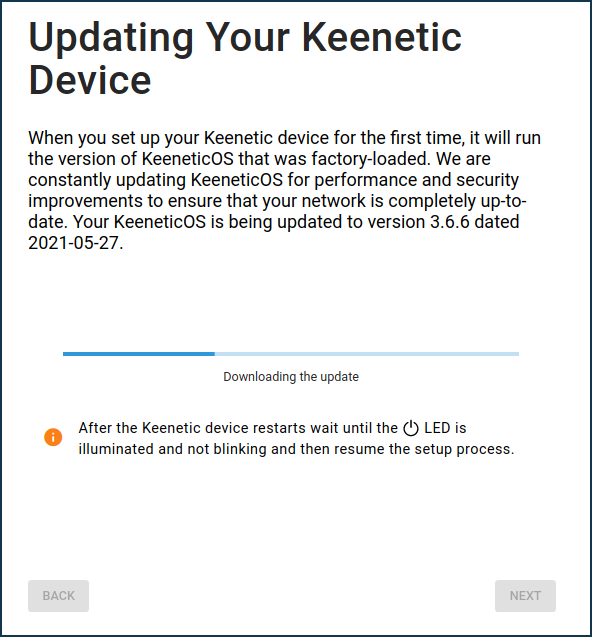
NOTE: Important! Do not turn off Keenetic while updating! It takes a few minutes to install the updates, and then the device will reboot.
In the next step, you will see a screen with the data for connecting to the Wi-Fi network. Use these credentials when connecting wireless home devices (smartphones, tablets, laptops, etc.) to the router's Wi-Fi access point. If you want, you can change the preset settings.
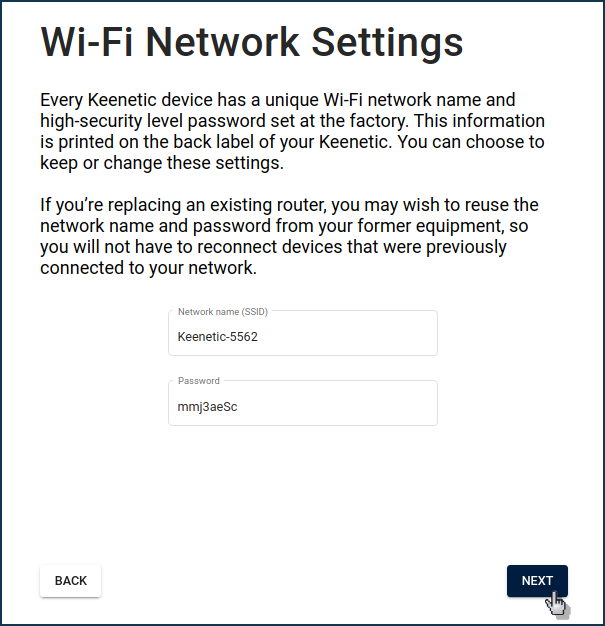
TIP: Tip: When changing the network name (SSID), specify a new name for your wireless Wi-Fi network, but we do not recommend using spaces and special characters in the name, as some devices may not connect to such a network. The name should consist of letters of the Latin alphabet and/or numbers (Cyrillic letters are not recommended). Using a hyphen is allowed.
In the 'Password' field, type a new password to access the Wi-Fi network. The password can be between 8 and 63 characters long. Use a complex password to connect to your Wi-Fi network, which is difficult to guess and time-consuming to find by brute force.
To keep Keenetic secure, install a custom security certificate to ensure secure HTTPS connections to your device. Then every time you access the Keenetic web interface, your connection will be automatically protected from eavesdropping and unauthorized access.

On the next screen, you can enable or disable the periodic sending of anonymous diagnostic and usage information as part of a product improvement program. This information helps Keenetic continuously work to improve the quality and performance of our products.

Save your credentials, which will be useful in the future, such as connecting new devices to the router's Wi-Fi network or contacting Keenetic support. Next, print the information on a printer or copy it to the clipboard, then paste it into a text editor and save the file.
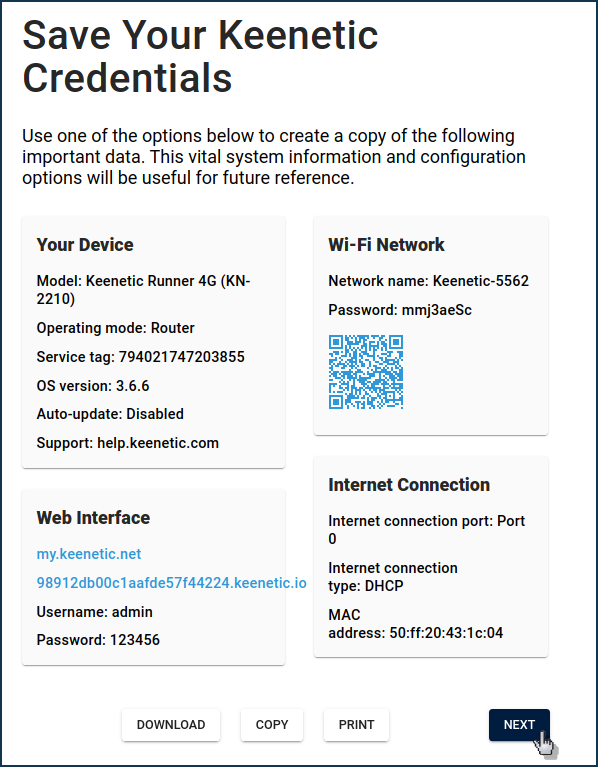
So, the Keenetic router Initial Setup Wizard is complete. Click the 'Finish' button.

Visit account.keenetic.com to create your Keenetic Account and register your router. By registering, you will always know the exact duration of your device's warranty. In addition, the Keenetic Account is one-stop access to the Customer Support Center, Keenetic Cloud web portal, Keenetic mobile application and Keenetic RMM service.
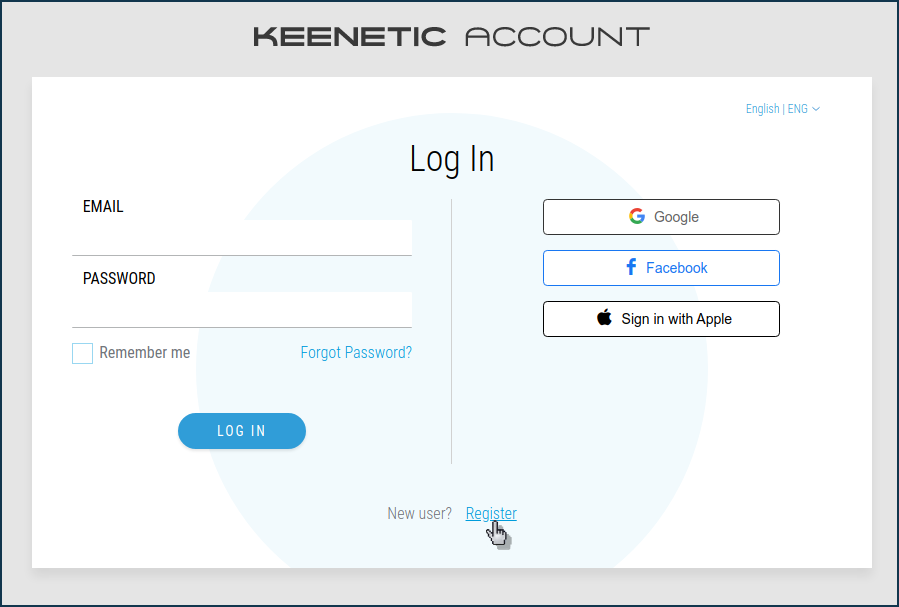
TIP: Tip: Enabling Extender Mode
Keenetic router can operate in one of two modes — 'Router' and 'Extender'.
The optional Extender Mode is used to increase another router's existing Wi-Fi network or connect network devices. To use your router in advanced mode, select 'Switch to Wi-Fi Extender Mode' in the 'Select Configuration Option' screen and press 'Next'.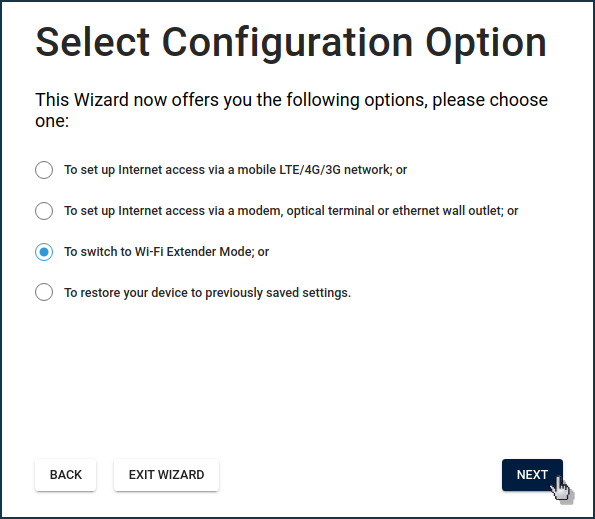
Next, you will see information on how to connect the Extender to the Mesh Wi-Fi system.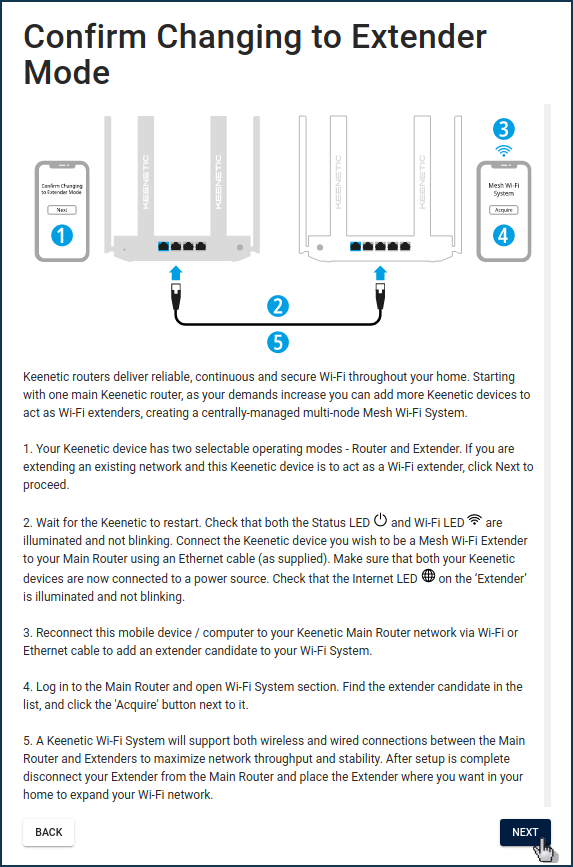
NOTE: Note:
Once you have configured your Internet connection via the Initial Setup Wizard, this wizard will no longer appear when connecting to the web interface.
But if you decide to reconfigure your Keenetic and rerun the Initial Setup Wizard, you can do so in one of the following ways.
1. Connect to the router's web interface using a web browser, and then enter the address in your web browser's address bar:
http://192.168.1.1/wizard/initial-setup
After that, the Initial Setup Wizard will start. Follow the wizard instructions above in this article.
2. You can start the Initial Setup Wizard by performing a factory reset of all user settings using the Reset button on the router.